STORE
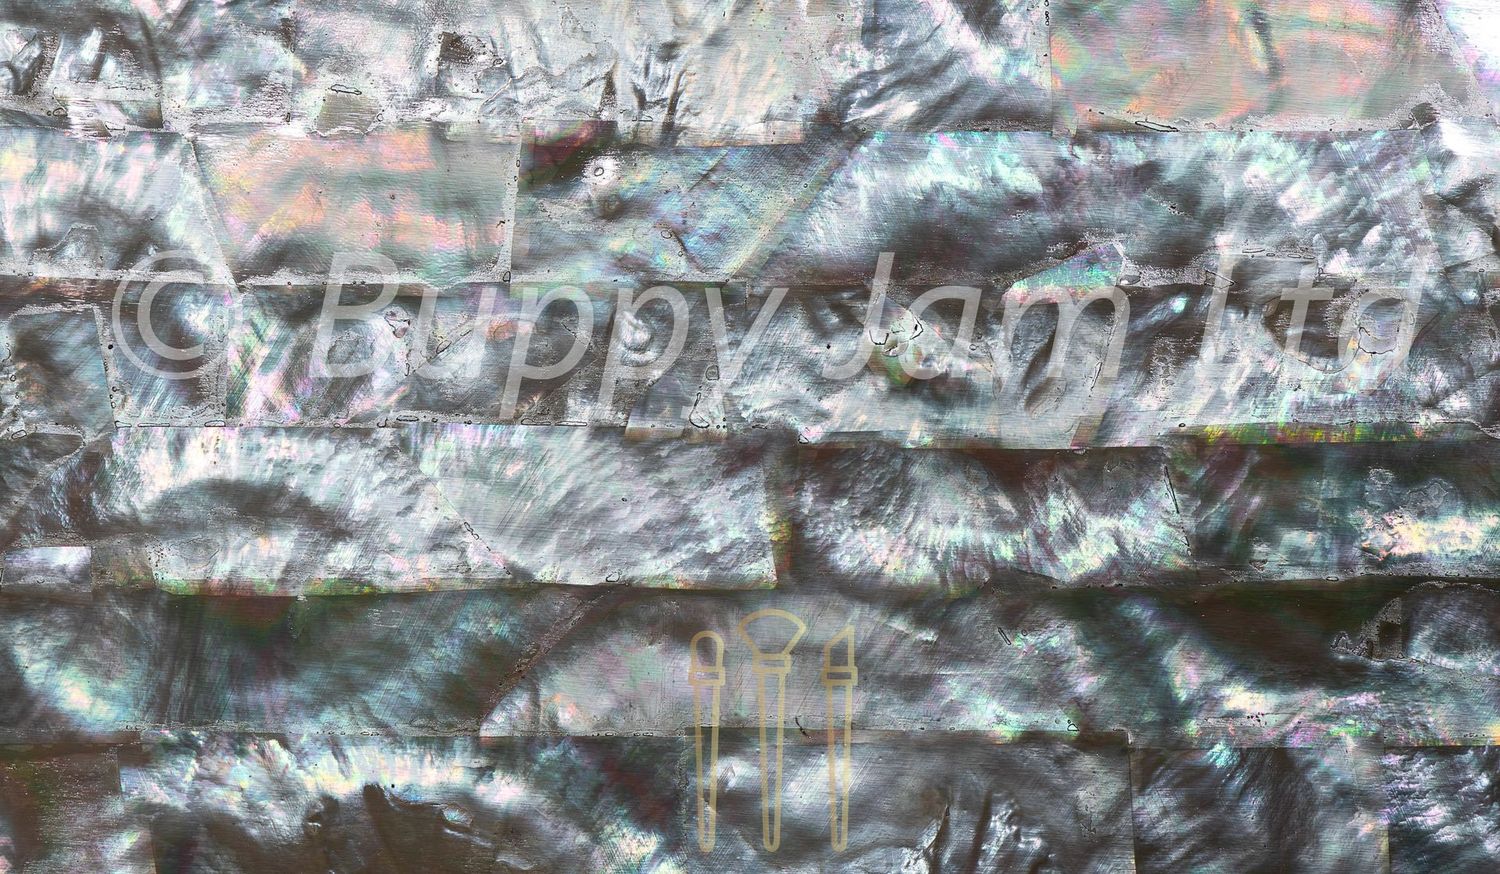
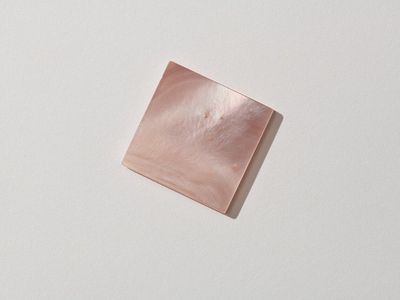
Mother Of Pearl Sheet Grey Smoke 240mm x 140mm HM021
Description
- Handmade
- Delivery from a small business in UK
- Materials: Mother Of Pearl, Pearl, Shell
- Width: 140 millimetres
- Height: 240 millimetres
- Depth: 0.15 millimetres
Mother Of Pearl Sheet - Grey Smoke - 240mm x 140mm - HM021.
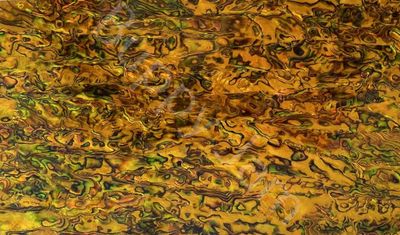
This gorgeous shell sheet has so many beautiful colours going on it's hard to give it justice in a few pictures and short video. Fantastic for sign art, upcycling an old dresser unit or upgrading your kitchen drawer fronts. easy to cut and easy to apply (email seller for full technical sheet) best application results on glass are with one shot UV resistant varnish, this can also be used to apply to wood, metal or pretty much any other flat, smooth surface.
Rigid sheets cutting:
To cut a rigid shell sheet on a hard flat surface (rubber cutting mat is best) we recommend doing a test cut if it is your first time cutting a shell sheet.
Cutting straight lines:
a scalpel or sharp craft blade with a metal ruler, or something similar which will give you the straight line you require. Score firmly the line you want to cut, drawing the blade gently across the shell sheet a few times using gentle pressure each time until the veneer cuts.
Curved lines:
This is very tricky on rigid sheets, however if it’s the product you are using, for the best easiest results pour hand hot water into a container big enough to submerge the sheet in fully. Allow 10/15 mins for the sheet to soften. Then take out, dry VERY carefully laying the sheet on a flat paper towel and applying the same to the top to dry off. Use very sharp scissors with tight blades to carefully cut your marked curve. I have used this method with varying degrees of success, but its the best one I have found so far using simple tools.
For intricate or repetitive design:
laser cutting is an accurate tool for this project type. This is the most effective way to cut repetitive shapes with absolute precision every time. We offer a laser cutting service, email: terry [!at] buppyjam.co.uk with your artwork, we will get straight back to you with a quote.
Fixing rigid shell sheet:
Every industry approach to this is different, below are just some ways we have applied the sheet in the past.
To glass:
One shot UV speed dry varnish* is the best solution we have found to date, giving both fast and permanent adhesion, it does not discolour and is UV stable.
Process for Glass: Apply the varnish to both shell and glass in the area to be covered, keep in mind to eliminate any air pockets that may exist
between the sheet and the glass (pearl sheets, like nature do not occur completely flat there are always some surface variations) once the varnish reaches tack point drop the shell into place, apply a little pressure in the centre of the shell piece with a finger or other soft flat surfaced object this will push out any air pockets and then quickly move onto the next piece.
Process for wood:
One shot varnish as above, or any other non-contact adhesive. It is necessary for the adhesive to reach tack point in order for you to be able to ensure full and strong adhesion before the shell is applied as it is has a very low porosity and takes and age to cure. Once the adhesive has cured, a topcoat using One Shot speed dry or similar varnish to seal the shell. If a matt finish is required, then Osmo** is a good interior / exterior option and is getting closer to a greener credential.
Process for self-adhesive sheets:
Once cut to shape simply peel and stick, for simple strips or basic designs this is by far the easiest solution, however as the backing here is a 3D sticky sheet it does tend to grab at surfaces, we have played around with mist sprayer bottle (similar to that used in the car wrapping industry or those spray bottles used to mist house plants) with a very weak soapy solution not more than 1/50 soap/water with a little success depending on the substrate surface you are applying to, but we have found it is always best to ensure the surface you are adhering to is clean and grease free, mist just a very small amount, then apply your first part of shell sheet. Press down carefully to squeeze out any excess fluid, then dry the next section and repeat the process. Once the project is complete, allow one day at room temperature for the sheet to fully adhere, then apply a coat of varnish using One Shot speed dry or similar varnish to seal the shell. If a matt finish is required, then Osmo** as above.

